

NOTE: The .jpg files look very large when viewed on screen. This is due to the resolution of the images (600 dpi). They will print out in the proper size. But I think the other file formats are clearer, so if you have Corel......
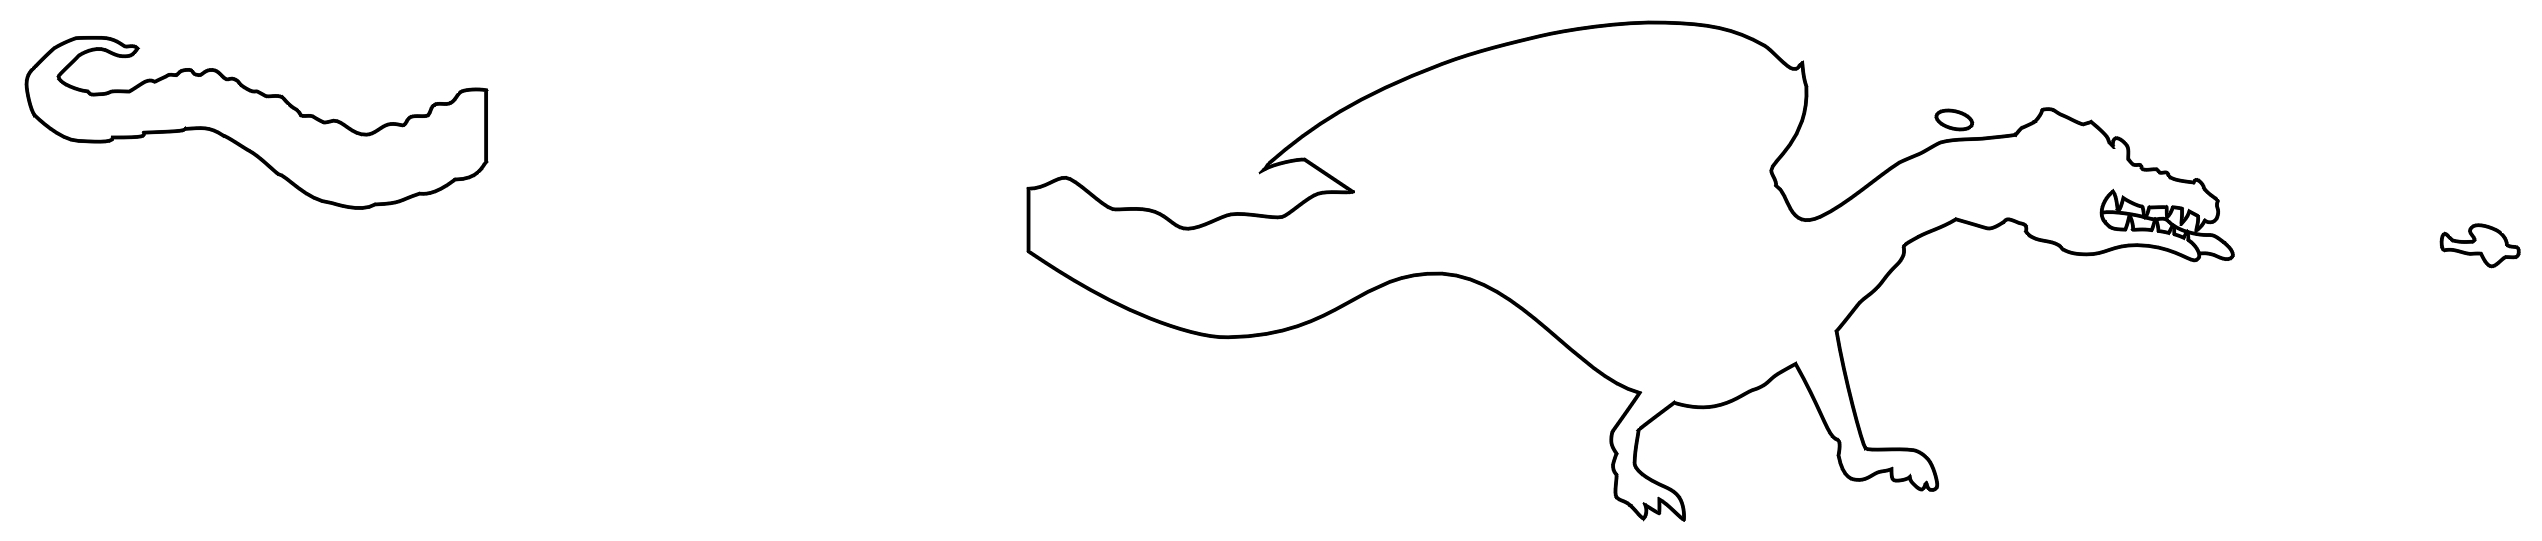
The outline decal could be applied first, painted over with white (body) and red (tounge). The decal with the detail would then be applied over.
Alternatively, 2 sets of detail decals could be printed, applying, then, painting over the first, then, applying the second.
Bob Pearson shares another method of applying the decals:
Instead of worrying about paint, I would just print it on white decal paper
and carefully cut the shape. Or use the outlined ones as masks to airbrush
white on the fuselage and than place the detail decal over it.
Bob also adds:
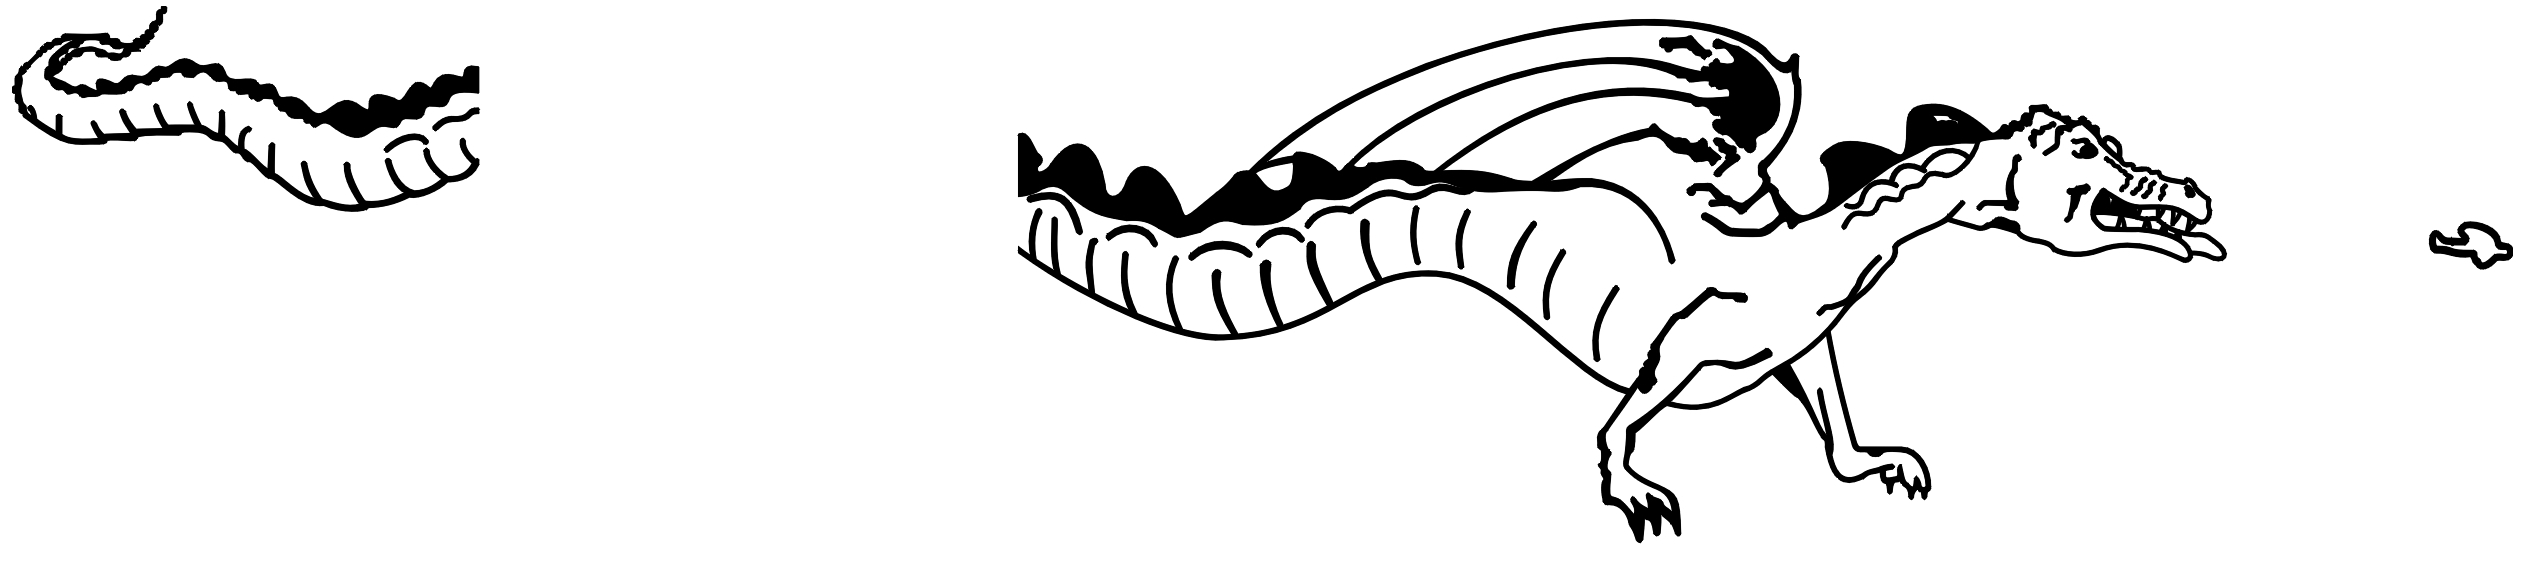
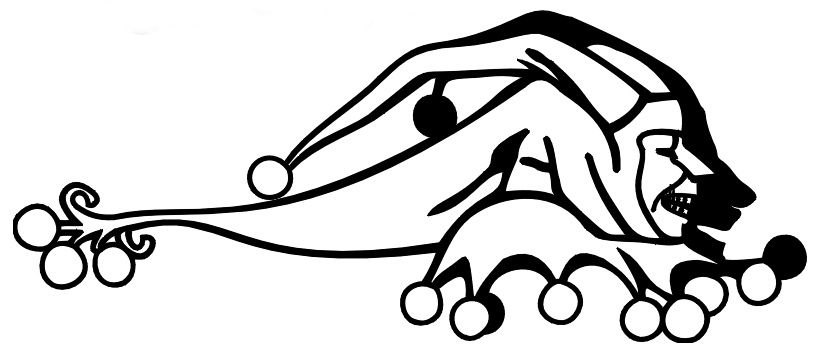
The Dragodiles should be white , not grey, unless it is a very, very light grey
- the Eduard kit was wrong in the colour.
Here are .jpg files of the artwork, click on the image to view/download:
Click here to download the complete artwork in Corel Draw (.cdr) format.
Click here to download the complete artwork in Adobe Illustrator (.ai) format.
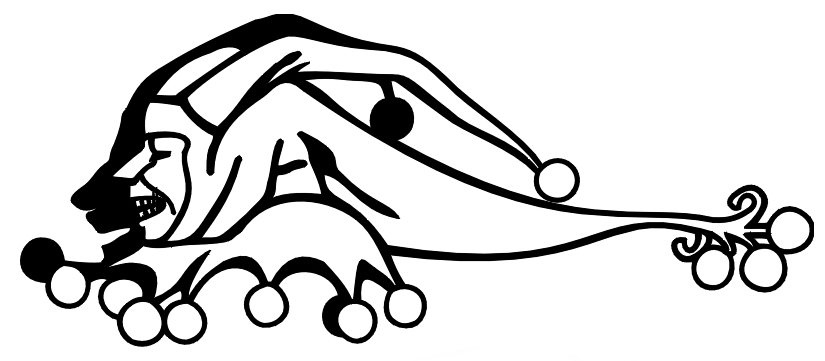
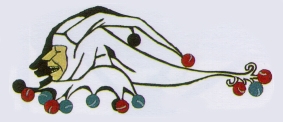 Here is artwork for Sop287/Br287, a French unit that flew Sopwith 1 1/2
Strutters, then later Br14's. The FMP "French" book says that the marking was
applied by stencil and filled in with the appropriate colours. I didn't bother
to make outline versions for these. You could print 2 pairs of artwork onto
decal paper, apply the first pair, paint over, and since these are much smaller
than the Dragondiles, it would not be too difficult to align the second pair
over the first. Click on the images to view/download the corresponding .jpg
file:
Here is artwork for Sop287/Br287, a French unit that flew Sopwith 1 1/2
Strutters, then later Br14's. The FMP "French" book says that the marking was
applied by stencil and filled in with the appropriate colours. I didn't bother
to make outline versions for these. You could print 2 pairs of artwork onto
decal paper, apply the first pair, paint over, and since these are much smaller
than the Dragondiles, it would not be too difficult to align the second pair
over the first. Click on the images to view/download the corresponding .jpg
file:
Click here to download both in Corel Draw (.cdr) format.
Click here to download both in Adobe Illustrator (.ai) format.